Enhancing Clarity & Understanding: Choose the Right Lighting for Your 3D Model
When you’re presenting a 3D model to stakeholders, clarity is everything. After all, you need stakeholders to understand the data you’re sharing so they can make informed decisions. Achieving this goal, however, requires you to create a 3D model that shines a light on critical information.
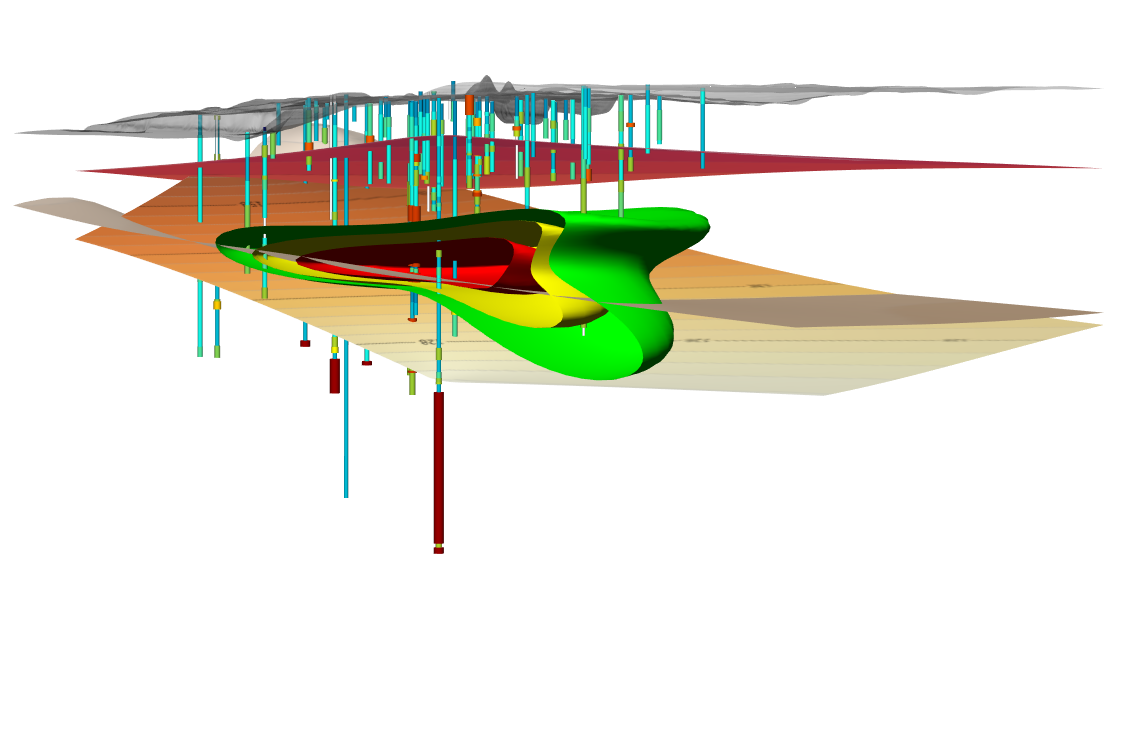
A visualization that highlights your most important data helps ensure features like drillholes, subsurface layers, and contamination plumes remain clear from every angle. That way, key details don’t get lost in the shadows, leaving stakeholders struggling to understand your findings. But how do you actually create a well-lit 3D model? It starts by choosing the right lighting option, which may require going beyond the default settings.
When to Go Beyond the Default: Knowing When Your Model Needs More Light
If you design a simple 3D model in Surfer, the default lighting (which we’ll explain more in the next section) might be just fine. It provides enough illumination to give your surface shape and depth, and it generally works well when you don’t have a lot of overlapping layers or visual complexity.
But as your model becomes more advanced—especially when you’re layering multiple surfaces, rendering subsurface features, or adding drillholes—the default lighting may lose its effectiveness. Shadows can appear and start obscuring important details, making parts of your model look dark and causing visual clarity and understanding to suffer.
That’s when it’s time to think beyond the default settings. For complex 3D models, using multiple light sources gives you more control over how your visualization appears so stakeholders can clearly understand what matters.
Types of Lighting in Surfer and When to Use Them
There are three distinct lighting options in Surfer for illuminating your 3D models. The default option—Follow the Camera—is great for simple models, but when you need more control, Surfer also has Fixed Lighting, which includes Directional and Point light sources. With fixed lighting, you can add up to four lights in any combination, giving you the flexibility to eliminate shadows, highlight critical features, and create a model that’s clear and understandable from every angle. For more context, here’s a quick overview of all the lighting options and a few use cases for each.
1. Follow the Camera (Default Lighting)
With Follow the Camera lighting, the light source is always positioned directly behind your viewpoint, so wherever you rotate the model, the light follows. That means the side facing you is always well lit, but the back can get lost in the shadows. This isn’t an issue with simple models that don’t have much depth or complexity, but this lighting option can fall short when you’re working with multiple layers or need to see all sides clearly.
Examples of when to use it:
- For simple models with a single surface
- When you only need to present the front-facing perspective
- If you’re making quick visual checks and don’t need deep detail
2. Directional Lighting (Fixed Lighting)
With Directional Lighting, you set the azimuth and altitude of the light, essentially choosing a fixed direction for the light source. No matter how you rotate your model, the light will always shine from the same angle. This option is ideal when you need more control and consistency, especially if one object is casting shadows on another (like a surface casting a shadow on drillholes).
Examples of when to use it:
- When presenting models with both surface and subsurface data
- To reduce dark spots caused by overlapping features
- When preparing high-quality exports or visuals for stakeholders
3. Point Lighting (Fixed Lighting)
Point Lighting allows you to place a light source at a specific XYZ location in your model. It shines outward from that exact point, making it perfect for spotlighting specific features like an anomaly, a high-value resource zone, or a critical data point. This type of lighting mimics a spotlight, drawing attention to exactly what matters most.
Examples of when to use it:
- When you want to highlight a single feature or data point
- To draw attention to anomalies or important coordinates
- For presentations where a focal point is key
Ultimately, each lighting type—Follow the Camera, Directional, and Point—has its strengths. But depending on the complexity of your model, you’ll benefit from choosing multiple Directional and Point light sources. With the opportunity to add up to four of these Fixed Lighting options in any combination, you can illuminate important parts of your model so stakeholders have the clarity and understanding they need to make informed decisions.
Illuminate Every Insight
Creating a well-lit model is critical, but sometimes, it requires going beyond the default lighting option. If you have a complex 3D model, you’ll likely need to combine multiple light sources to ensure key insights are clear enough for stakeholders to understand and act on. In Surfer, you can do this without experiencing issues, so there’s no need to design any more visualizations that place important details in the shadows. Simply add the lighting your data deserves so your drillholes, contamination plumes, and subsurface features are clear. Doing so will ensure stakeholders are that much more equipped to understand your findings and make informed decisions.
Want more insight and tips on how to create great data visualizations? Subscribe to our blog so you don’t miss an update!