Data Communication 101: How to Create and Share Maps and Models Effectively

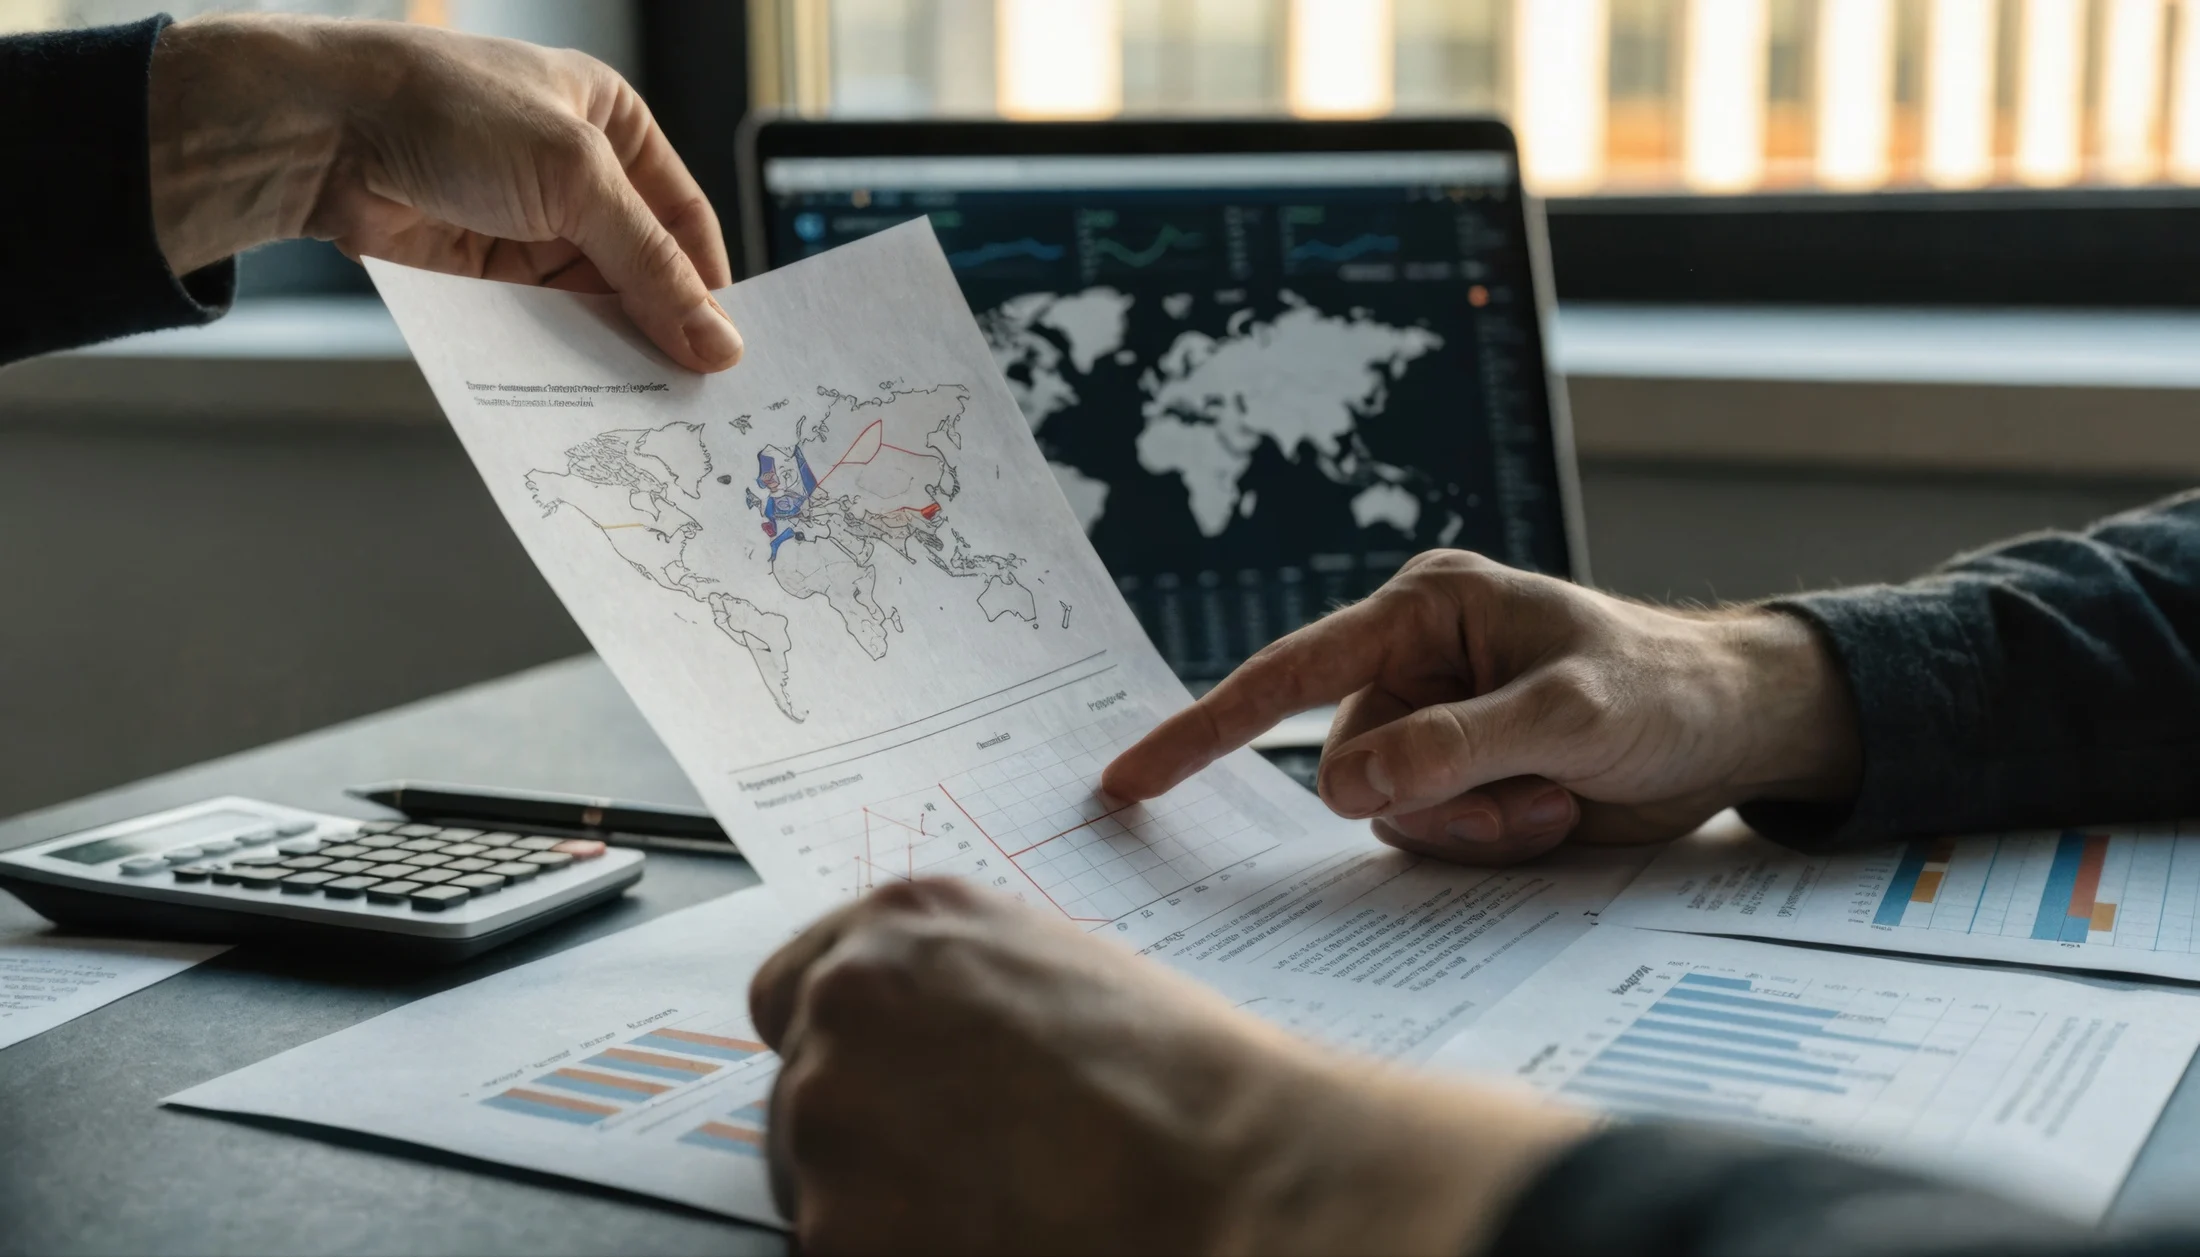
In geoscience and engineering, accuracy is non-negotiable. Your maps and models must faithfully honor your data—but accuracy isn’t the only thing you have to consider.
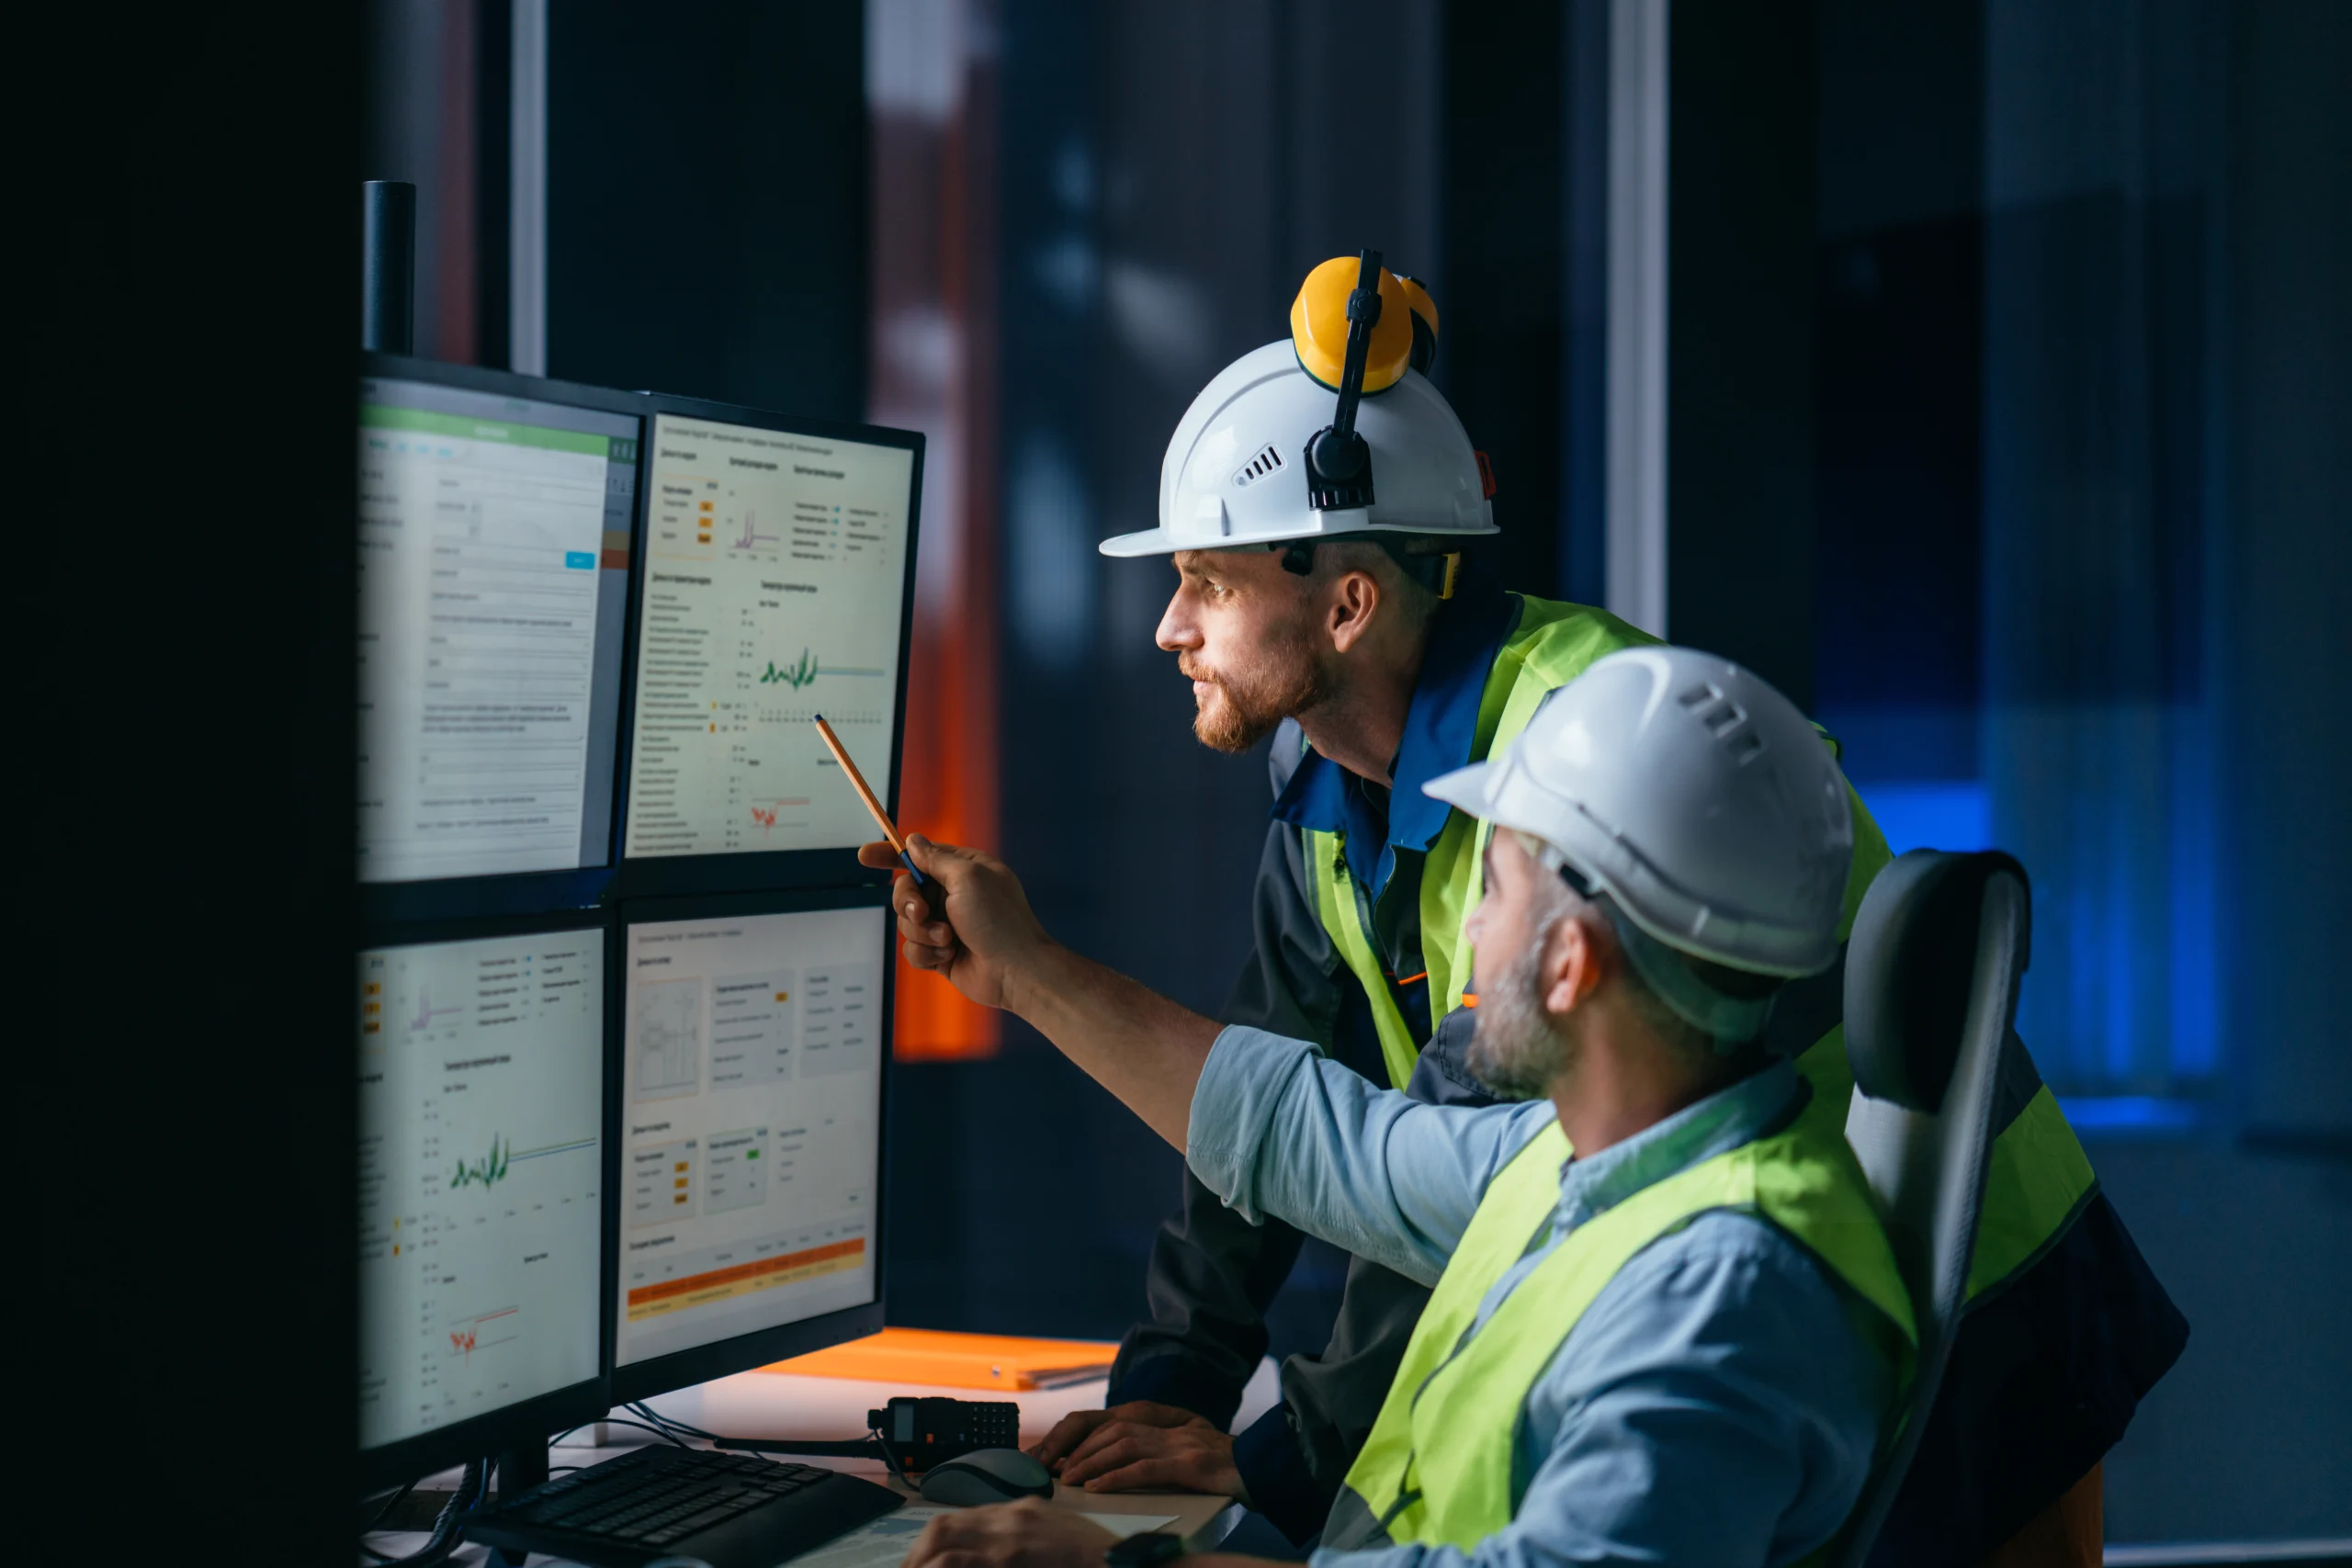
Even the most detailed analysis can fall short if your audience can’t understand what they’re viewing. While stakeholders rely on your visuals to make decisions about budgets, timelines, risk, and next steps, they don’t always have the technical background to interpret dense maps, overlapping layers, or complex symbology. When maps and models are unclear or overloaded, strong data can get lost in confusion.
That’s when data communication becomes a skill you must master.
Why Good Data Communication Improves Understanding
Effective data communication is about making your maps and models easy to understand so stakeholders get the main takeaways. When achieved, you’ll notice fewer clarifying questions, more productive conversations, and better decision-making. That’s because maps and models that communicate data well do three critical things:
- Make patterns easier to spot by using clear contrast, intentional color scales, and thoughtful visual hierarchy
- Reduce confusion by eliminating ambiguity in labeling, scales, and spatial positioning
- Spotlight what matters most by emphasizing key insights rather than overwhelming visuals with secondary detail
Consider the difference between a cluttered contour map visualizing multiple datasets and a clean contour map showing one dataset and a focused legend. In the first case, stakeholders may ask, “What am I looking at?” In the second, they’re more likely to ask, “What does this mean for our next step?”
That shift is powerful. When your visual supports understanding, discussions move from decoding your map or model to having productive conversations that quickly lead to decisions.
Effectively Communicating Data in Maps and Models
Now, here’s the big question: how do you ensure a map or model is easy to understand? Effective data communication requires intentionality. Below are some best practices on how to create and share visuals in a way that makes your data easier to interpret and act on.
Step 1: Start with the audience and the message
Every effective visual begins with clarity about its purpose. Before creating anything, pause and define two things:
- Who is the map or model for?
- What decision should this visual support?
A map or model prepared for fellow geoscientists will look very different from one prepared for executives, regulators, or community stakeholders. Technical audiences may expect contour intervals, metadata, and detailed annotations. Non-technical audiences often need simple symbology, plain language, and clear spatial context.
Just as important is defining the decision your visual will support. Is your map or model meant to justify additional drilling, evaluate risk, communicate regulatory compliance, or secure funding? Your visual should address the situation at hand to equip stakeholders with the exact insights they need. Otherwise, it’ll be harder for them to move forward.
Step 2: Choose the right visualization format
One of the most important decisions around data communication is choosing the right format. Oftentimes, this comes down to selecting between a 2D map and a 3D model. Here are some insights to help you determine which one to use.
When to use 2D maps
Typically, 2D maps are often the best option when simplicity and clarity are the priority. They work especially well in the following scenarios:
- The spatial relationship is straightforward
- You only need to visualize the surface
- The audience needs a quick understanding
2D maps are familiar. Most stakeholders intuitively understand how to read them. When used correctly, they communicate location, distribution, and trends efficiently without unnecessary complexity.
When to use 3D models
3D models become essential when relationships extend vertically or when multiple layers of data intersect. They are particularly effective in these situations:
- Surface and subsurface relationships must be shown together
- Multiple datasets overlap spatially
- Depth, orientation, and spatial interaction matter for decision-making
In these scenarios, 3D visualization provides realistic context. Instead of asking your stakeholders to imagine how elements connect across space, you equip them to see those connections directly.
Step 3: Design visuals for clarity
Strong visual design should always support interpretation rather than distracting from it. Achieving this means creating clean maps and models that highlight key points. There are three steps you can take to do this effectively.
Use clear labels and legends
Labels and legends provide the interpretive framework for your visual. Without clearly labeling key features, axes, units, and data ranges, even the most technically accurate visual can be misunderstood.
Legends should be intuitive and proportional to the visual hierarchy. The most important data should not be buried beneath dense or cluttered text. If a stakeholder has to search for meaning, clarity has already been compromised.
Simplify wherever possible
When multiple datasets are layered without restraint, maps and models become visually dense and cognitively heavy. While everything may be technically accurate, the core message gets diluted.
Simplifying your visual can help enhance clarity. That doesn’t mean you have to remove important information. But you should remove anything that doesn’t directly support your primary insights. To help determine what’s worth eliminating, ask yourself this question: what do stakeholders need to know to make their decision?
Use color and color scales intentionally
Poor color choices—such as exaggerated gradients or inconsistent scales between visuals—can unintentionally mislead interpretation. For example, minor variations may appear dramatic if the scale is compressed.
If you want to use color effectively, there are three things you can do:
- Create consistent scales across related visuals.
- Choose color scales that accurately represent gradation
- Ensure that visual contrast reflects real data differences
When color and scale are used deliberately, your stakeholders can trust what they’re seeing.
Step 4: Choose the right way to share your data
Once you’ve created an easy-to-understand map or model, you need to consider how you deliver it. The way you share your visual is just as critical in data communication as the way you create it, particularly when it comes to 3D.
If you created a 2D map, you’ll provide a static visual. That’s the main option, so you don’t need to worry on that front. However, if you designed a 3D model, there are a few ways you can share insights to ensure stakeholders understand key takeaways.
3D PDFs
3D PDFs provide a highly accessible way to share models without requiring your stakeholders to install specialized geoscience or engineering software. Stakeholders can just use the standard, free version of Adobe Acrobat Reader—which they likely already have installed—to fully view and interact with the 3D data. This means you have an effective way to put a model directly into the hands of a client or regulator for independent review.
With this format, there are several strategic advantages, including the following:
- Self-guided exploration: Stakeholders can pan, tilt, and zoom into the model at their own pace. This autonomy empowers them to explore the areas they care about most—such as a specific property line or contaminant plume—which builds trust in the data.
- Layer control and interactivity: 3D PDFs equip stakeholders to toggle layers on and off, such as turning off the topsoil to see the bedrock beneath, or toggle on a proposed excavation plan to see how it aligns with existing utilities.
- Simplified documentation: At its core, a 3D PDF is a straightforward document. It’s easy to attach to an email, archive in a project folder, or include as an interactive visual in a formal report.
- Lightweight portability: Unlike some project files that are difficult to transfer, 3D PDFs compress rich spatial information into remarkably small file sizes. This makes them highly portable, equipping you to seamlessly share complex 3D environments across standard networks without worrying about attachment limits or slow download speeds.
By providing a 3D PDF, you empower stakeholders to engage with your data on their own terms. It transforms the viewing experience from a passive observation into an active investigation, ensuring that the spatial complexities of the project are fully understood by everyone involved.
Interactive walkthrough
Sometimes the only way to fully grasp a site’s complexity is to stand on its surface. An interactive walk-through equips you to do the next best thing: explore your model from a ground-level, life-like perspective. By navigating the model in real-time during a presentation, you can zoom in on subtle topographic changes and contextualize features that are difficult to explain with static 2D visuals alone.
This interactive approach is particularly effective in these scenarios:
- Exploring complex terrain: Instead of asking stakeholders to imagine a site from an overhead view, you can lead them on a tour of various elevations. This makes the spatial interaction between different surface features feel natural and realistic.
- Real-time adaptability: You can move in any direction or hone in on specific areas based on your stakeholders’ questions. By adjusting settings like walk speed and rotation, you can either glide across the model for a broad overview or slow down to examine small, critical details.
- Improving immediate comprehension: By providing a first-person view, you remove the “mental gymnastics” required to interpret oblique angles. Stakeholders understand takeaways faster because they are experiencing the data-driven insights from a familiar, human-scale perspective.
This level of maneuverability ensures that your presentation remains a two-way conversation. You have the flexibility to pause, pivot, and re-examine the data from any angle until every stakeholder is confident in their understanding.
Guided fly-through
A fly-through is a pre-recorded, animated sequence that takes your audience on a curated tour. Unlike a live walk-through, you set the path, camera angles, and speed in advance to tell a specific story.
This option provides three primary benefits:
- Adds context: A guided fly-through moves past key features at the perfect angle, revealing spatial relationships that are easily missed from a distance.
- Realistic experience: The sense of motion equips stakeholders to virtually travel across a project site, seeing exactly how a proposed facility or pipeline route interacts with the existing topography and nearby property boundaries.
- Clear impact: By controlling the stakeholders’ focus, you can highlight subtle details that communicate the urgency and importance of your findings.
With a pre-determined perspective and pace, you ensure that even non-technical stakeholders stay focused on the evidence. This approach transforms a complex dataset into a clear, visual narrative that justifies a project’s next steps.
Video recordings
Recording your interaction with a model—manually rotating, zooming, adjusting layer transparency, and more—provides a guided narrative that ensures stakeholders see exactly what you intend for them to see. This option is particularly useful for asynchronous communication, where you need to ensure expert interpretation without being present for a live meeting.
By recording your 3D model, you add a layer of guidance in the following ways:
- Controlled perspective: You remove the risk of a stakeholder getting “lost” in the model. By capturing specific movements, you anchor their perspective to the most relevant data points.
- Visual storytelling: You can record yourself toggling different datasets on and off, such as drillholes layers and contaminant plumes. This demonstrates the relationship between datasets in a way that static images cannot.
- Consistency in interpretation: A recording ensures that every stakeholder, from a project manager to a regulator, receives the same focused explanation. It eliminates the guesswork, making the technical story consistent across the board.
Recording a video transforms a 3D environment into a digestible visual. It equips stakeholders to revisit your analysis as often as needed, ensuring your technical conclusions remain clear long after the initial viewing.
Communicate With Confidence
In geoscience and engineering, technical accuracy is expected, but effective data communication is what sets you apart.
When your maps and models are designed and shared with intention, stakeholders don’t have to struggle to interpret what they’re seeing. They don’t get lost in clutter or distracted by unnecessary detail. Instead, they quickly understand your insights, leading to meaningful conversations and moving forward with confidence.
Now, we’d love to hear from you: what’s one challenge you’ve faced when sharing maps or models with stakeholders, and what’s helped you overcome it? Leave a comment and share your experience!
Recent Articles
- Oct 7, 2026|Gabbie Rhodes|8 min
In the second post of our Visualizing Technical Data series, learn how maps and graphs can showcase your water quality data and uncover insights.
- Oct 7, 2026|Gabbie Rhodes|12 min
Have you ever wondered: what are the causes of a landslide? Discover the answer and how to visualize at-risk areas.
- Sep 29, 2026|Gabbie Rhodes|9 min
When visualizing technical data, a map will reveal certain insights, while a graph will reveal other insights. You need both to get the full picture.
- Sep 29, 2026|Gabbie Rhodes|5 min
Repetition slowing you down? Automation can quicken your high-volume workflow, remove manual steps, and even improve consistency.